14 Tips for Your First 14er
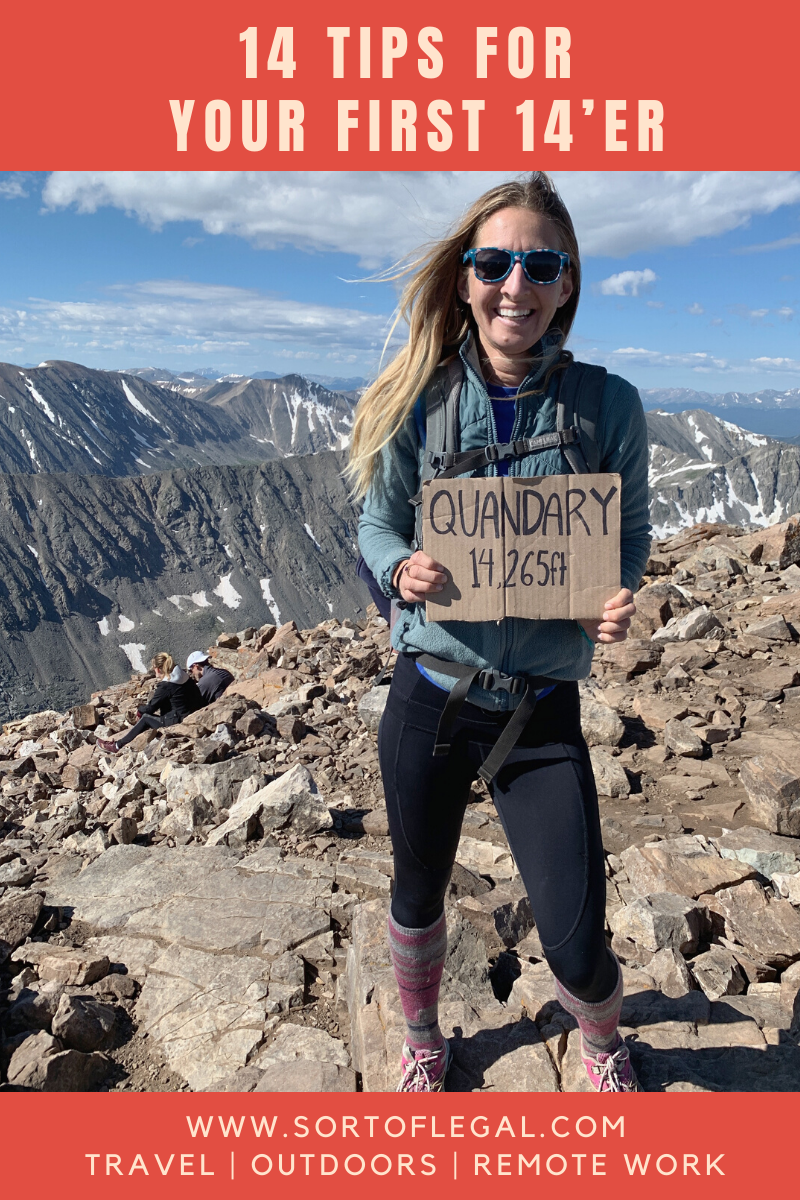
I did first two 14ers last year. (Quanadry and Shavano, in that order.) Both solo. Both successful – not just because I summited both but because I felt great after. Tired, for sure, but the feel good kind of tired where you melt into bed after an accomplished day – not the sick, weak kind of tired that can come with pushing your body a little too close to its limits.
If you’re reading this, you’ve probably learned what a 14er is, maybe have a few friends who have done one, and now you’re thinking about it. Here are 14 tips to help you have a successful experience. Some are specific to 14’ers but most are applicable to any type of high elevation hike.
Fourteen Tips for Your First Fourteener
1. Choose your Hiking Partner, or None Wisely.
A 14’er is a long day. It can also be a dangerous day. Choose a hiking partner you know, like, and trust or it could be a hell-ishly long day.
Ideally, go with someone who is about the same pace as you and has the same hiking style as you. For example, if you like to walk with your hiking partner the entire hike, don’t go with someone who is known to hike ahead and catch up later, and visa-versa.
Going solo is an option too, and one that might make sense if you have experience hiking solo at elevation, have your day hike packing and nutrition down pat, and feel comfortable with the risk.
2. Start with An Easier 14er.
Yes, if you choose Gray’s Peak in Colorado, some of your hard-core Colorado friends may give you a hard time. “Everyone has done that.” “That’s an easy one.” “It’s like a zoo on that park walk.” Tell them to eff-off.
That’s not true. A lot of people couldn’t walk the distance required to summit a 14’er, let alone climb thousands of feet to get to it in thinning air. There’s really no such thing as an “easy” 14er, just easier 14ers, comparatively. You can always level-up after your first one, but start conservatively. Downplaying 14ers is a weird Colorado bragging thing.
How to find an easier 14er? If you’re in Colorado, ask around. You can also check out one of the many websites or books on 14ers, including:
- 14ers.com (the OG & in my opinion best 14er site)
- Colorado’s Fourteeners: From Hikes to Climbs (popular print guide)
- Coloradan: Top 5 Beginner 14ers
- 303 Magazine: 13 Fourteeners for Beginners
- Outdoorsy: Best 14ers in the Lower 48 for All Skill Levels
When thinking about difficulty consider elevation gain, distance, and class (see below). Also, be careful that you chose the easiest route as many 14ers have multiple routes to the summit.
3. Keep it Low Class.
Summiting some 14ers requires scrambling using your hands, exposed traverses with steep drop-offs, and straight up mountaineering (think helmets and ropes). Avoid this sh*t on your first 14er. Stick to a mountain with a lower class rating. Don’t know what the class numbers mean? Here’s a good description of hiking classes with photos.
4. Consider Colorado.
You may have noticed I keep mentioning Colorado, USA. Are all the 14ers in the US in Colorado? Nope, here’s the full list of US 14ers. But, most are. Colorado has over 50 fourteeners, which also means you can find one, or dozens, to hike without a permit (unlike Mt. Whitney in California).
5. Practice Makes Perfect.
Your 14er should be your first 14er, not your first hike, and not your first hike at high elevation. I’d recommend doing a few hikes where you gain at least 2k feet (ideally more) over the course of the hike at higher elevations (ideally, a few in the 10k – 12k elevation range).
We all react differently to elevation and endurance efforts. Having some under your belt will help you get to know your body and what’s normal and what isn’t. It will also help you get in shape so the hike is hard, but enjoyable.
6. Start at [Morning] Happy Hour.
Start god-awful early. Usually by at least 6 AM. Two purposes: helps you avoid crowds (on some 14ers) and prevents you from dying.
In summer, when fourteeners are typically accessible because the snow has melted enough, afternoon storms can roll in with what seems like no warning. If you are above tree-level and there’s lightning, there’s a high risk of being struck by it and killed. This isn’t like the risk if you run to your car really quickly during a storm, it’s a very real, unacceptably high risk.
7. Don’t Follow the Ants off a Cliff.
Speaking of safety, don’t be a lemming. Use your own judgment. On big hikes, other hikers can look like little ants far in the distance. Say “hi” to them when you pass but don’t necessarily follow their lead.
Fourteeners have become such a bucket list item that they draw a lot of people. And a lot of those people are not experienced hikers, and don’t have good hiking judgment. Use your own judgment, don’t trust that of other people, even people in your hiking group.
8. Have a Map That Doesn’t Require Cell Service.
You’ll likely be hiking through the woods and then up a mountain. You’ll likely have limited cell service for most or all of your hike. Make sure you have a map that does not require cell service, and ideally, a print back-up as well. You can screenshot maps off websites to have on your phone and then buy or print off a hard copy.
9. Eat Even If You’re Not Hungry.
On any type of long day hike, you’re going to burn an abnormally high amount of calories. At elevation, you burn even more calories and feel less hungry. So, eat. A lot. Even if you’re not hungry. I recommend bringing a mix of types of salty and sweet snacks so you have options. What you crave mid-hike can be interesting, and different from what you crave in a normal day.
I usually go with a very big breakfast (think McDonalds Egg McMuffin meal) and carry about 1,000 calories+ on me. I probably go overboard sometimes, but I’ve passed out from not eating enough in the past so I’d rather play it safe.
Some of my favorite trail snacks are:
PB&J Sandwich
Snyder’s Pretzel Pieces
HoneyStinger Waffles & Cracker Bars
Justin’s Nut Butter Packets
Cliff Nut Butter Filled Bars
Cliff Shot Blocks: Margarita
Beef Jerky
10. Quitting IS an Option…And a Good One.
It is OK to quit. In fact, there are times when quitting is the 100% correct choice. If you are ill, injured, facing storms, or just unsure if continuing is the safe thing to do, turn around. All the best hikers and mountaineers I know have quit hikes they were physically capable of finishing for safety reasons.
Sure, it sucks a little, especially when you’re close to finishing, but it’s not worth your health and well-being. The trail will be there tomorrow, make sure you are too.
11. Dress and Pack for a Hike, Not a Walk in the Park.
There are plenty of hikes that, while it’s not the “best practice,” you can get through in gym sneakers, any clothing, and a handheld small water bottle. Fourteeners are not those hikes. Dress appropriately, wear trail shoes, and take a CamelBak with water and other essentials.
Not sure what to bring or pack? Check out:
What’s in My Day Pack
The Ten Essentials for Day Hikes and Why You Need Them
What to Wear On Day Hikes: A Guide for Women
Best Outdoor Brands for Different Types of Hiking Gear
12. Try Trekking Poles.
I was a hold out on trekking poles because well, I’m stubborn and didn’t needthem to hike. However, once I tried them, I caved and bought my own pair of women’s Black Diamond trekking poles the next week. They help with moving faster on uphills and not slipping on steep inclines and declines.
I’d say trekking poles are a borderline a necessity even on mellower 14ers to avoid slipping on and down scree and cutting and bruising yourself up. Trekking poles can also help you pick up speed which is nice since you’re often on a race to beat the afternoon storms.
13. Consistently Caffeinate.
A fourteener is not the day to start experimenting with new foods and drinks…and its definitely not the time to start trying, or cutting caffeine! If you usually drink a cup of coffee in the morning, don’t skip it (that’s an invitation for a headache). If you don’t, don’t (that’s an invitation for heart-racing jitters). Basically, just stick to what you’re used to on the caffeine front.
14. Save the Party for After Your Hike.
I’m a big fan of summit beers, or let’s be honest, easy hike beers, but for your first fourteener, save the party for after. If nothing else, it’s not worth the weight of carrying the booze. If you can’t wait until you get home, throw a can in a cooler in your car for when you get down.
BONUS: Do Celebrate!!
Once you’re done, celebrate your hike in some way. Whether or not summited, you embarked on something really challenging, learned about yourself, gained a story to tell, and hopefully, had some fun along the way. That deserves a lil celebration – whether its with your drink of choice or allowing yourself 12-hours of sleep. Congrats and enjoy. 🙂

